The RV Maintenance Checklist That Prevents Big Repairs
Roof seals, tires and batteries cause most expensive RV repairs. Here is the maintenance rhythm that catches all three early.
Affiliate disclosure: some links in this article are affiliate links. If you buy through them we may earn a small commission at no extra cost to you. Read the full disclosure.
The three failures that cost the most
Almost every expensive RV repair we have seen traces back to water intrusion through a failed roof seal, a tire that aged out, or a battery bank ruined by neglect. All three are cheap to prevent and brutal to fix, and none of them fail without warning.
Build your maintenance rhythm around those three first. Everything else on this list is housekeeping by comparison.
Before every trip
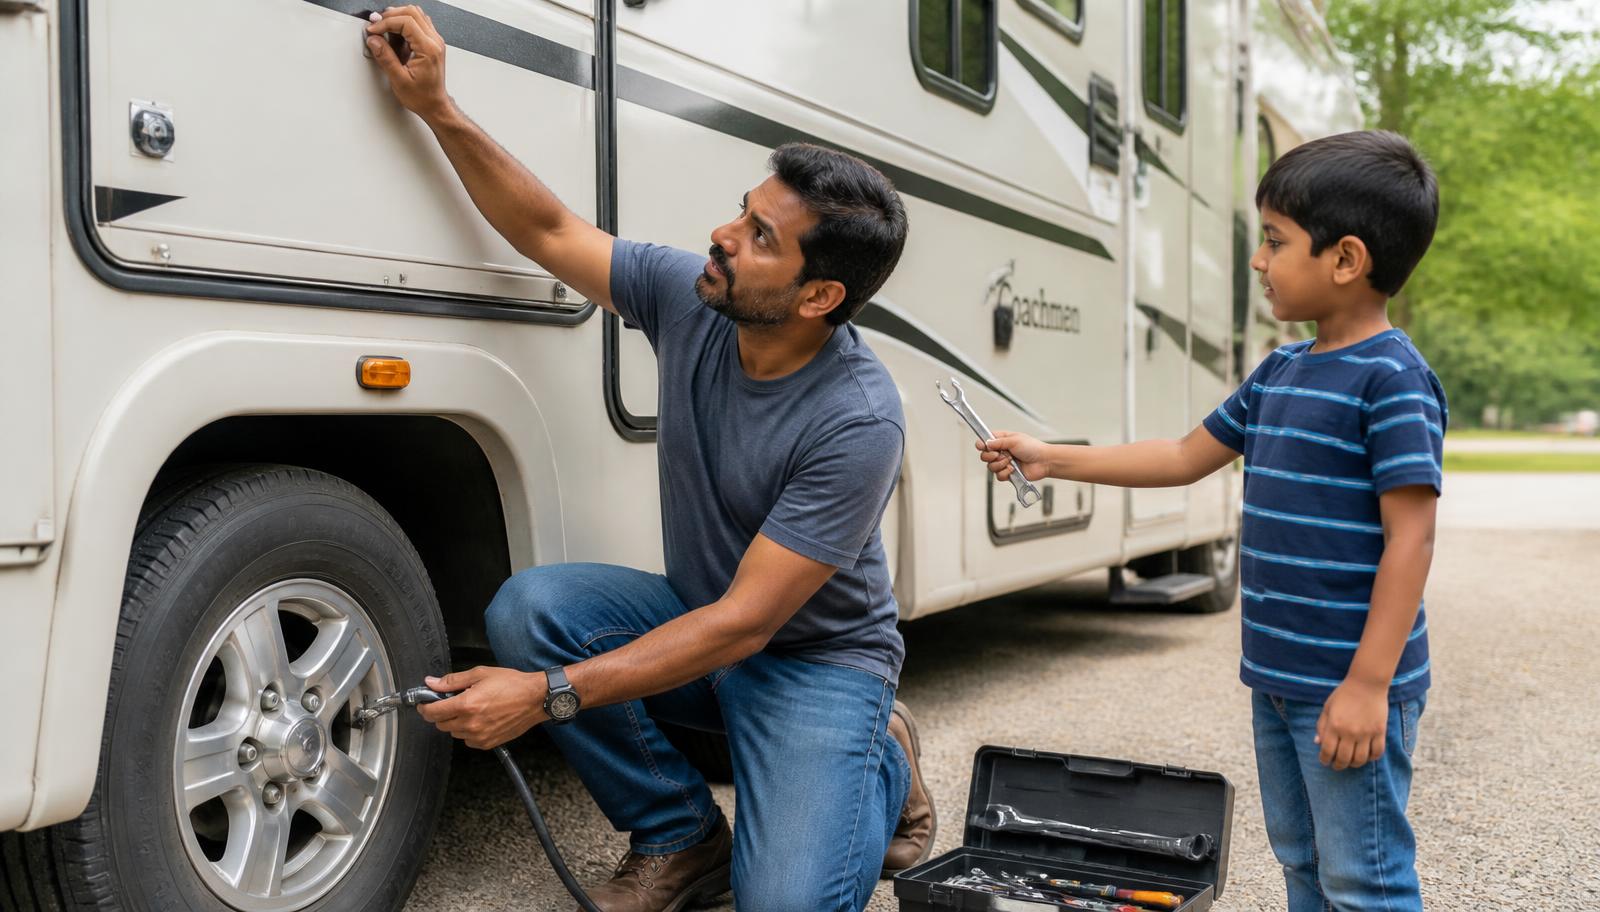
Tire pressures cold and set to the load tables, lug torque checked after any wheel work, running and brake lights tested with a helper, propane leak check with soapy water at the regulator, and a walk-around looking for anything hanging low or rubbing.
Then run the systems: water pump holds pressure, fridge cools overnight before departure, both alarms chirp when tested, and the awning retracts fully. Ten minutes in the driveway beats an hour in a campground with a full audience.
In a hurry? Jump straight to the gear we recommend for this.
Every three months
Inspect roof sealant at every penetration — vents, skylights, antenna bases, the front and rear caps — and spot-repair any crack or lifted edge immediately with a compatible self-leveling sealant. Wash the roof while you are up there so you can actually see the seams.
Also test smoke, CO and propane alarms, exercise the generator under load for at least an hour, check battery water levels on flooded batteries, and lubricate slide seals and the entry step.
Annually
Repack or inspect wheel bearings, service brakes and check magnet wear, sanitize the fresh water system with a bleach solution and a full flush, replace water filters, and have propane appliances and the regulator checked by a technician.
Annual is also when to inspect the underbelly for rodent damage, re-torque suspension bolts, check the roof AC filters and coils, and read the tire DOT codes so an aged set does not surprise you mid-season.
Seasonal: winterize and de-winterize
Winterize before the first hard freeze: drain fresh, grey and black tanks, drain the water heater with the pressure released, bypass it, blow out the lines and pump RV antifreeze through every fixture including the toilet and outside shower. Water damage from a skipped winterization is the most expensive avoidable RV repair there is.
In spring, flush the antifreeze, sanitize the system, reinstall filters, check every seal after a winter of contraction, recharge batteries and inspect for rodent nests before you turn on a single appliance.
Batteries, tires and what to record
Keep batteries on a maintainer during storage, never leave lead-acid below 50% for long, and replace tires at five to seven years regardless of tread. Lithium banks tolerate storage better but still want a partial state of charge rather than full.
Keep a single logbook — paper in the glovebox or a note on your phone — with dates for bearings, brakes, sealant, sanitizing and tire purchase. When you sell the rig, that log is worth real money; before then it is the only way to know what is actually due.
Recommended gear for this trip
Everything below is hand-picked for family trips. Affiliate links support the site.
 Best for towing safety
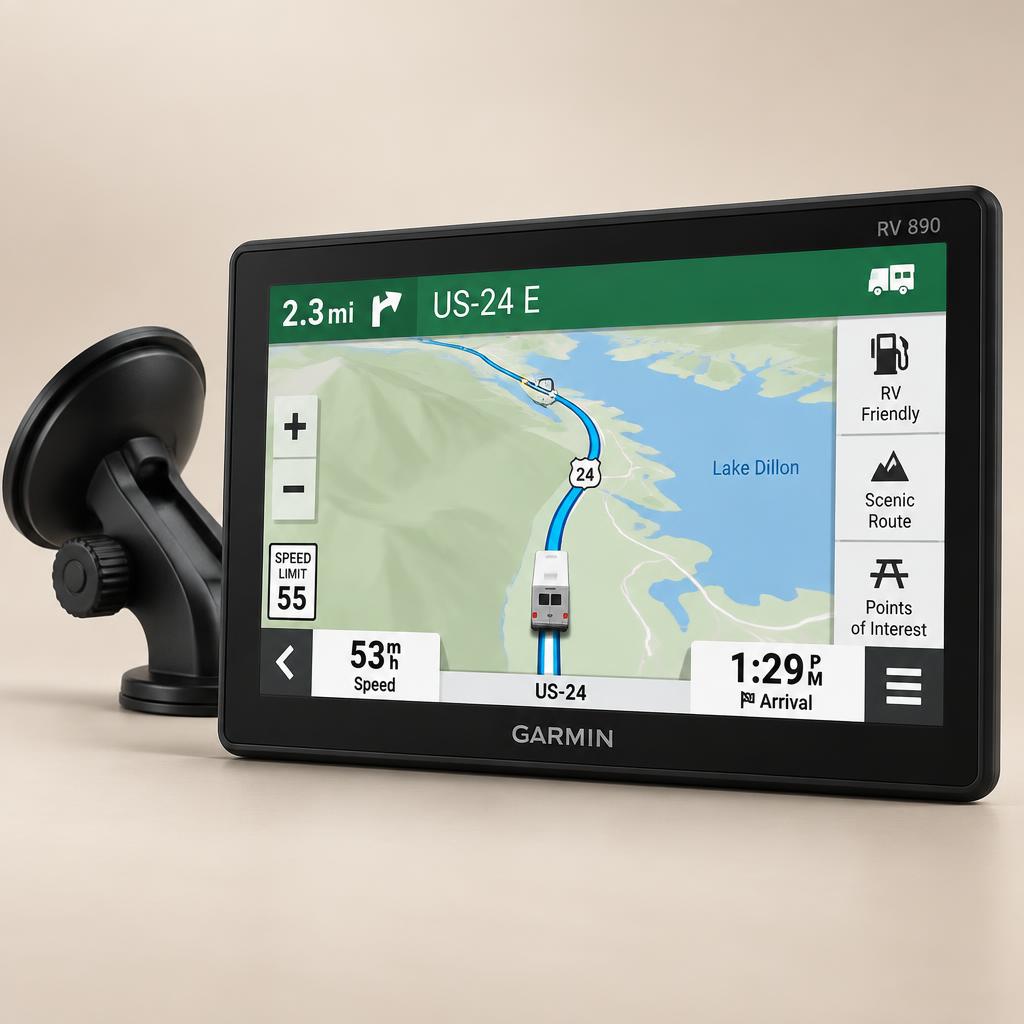
Garmin RV 890 GPS Navigator
Routes around low bridges, steep grades and weight-restricted roads using your rig's real height and length.
Key benefits
- Custom RV routing by size and weight
- 8-inch high-resolution touchscreen
- Preloaded street maps with free updates
Pros
- Warns early on grades
- Clear lane guidance
Cons
- Map updates can be slow over Wi-Fi
Affiliate link — we may earn a commission at no cost to you.
 Best for boondocking
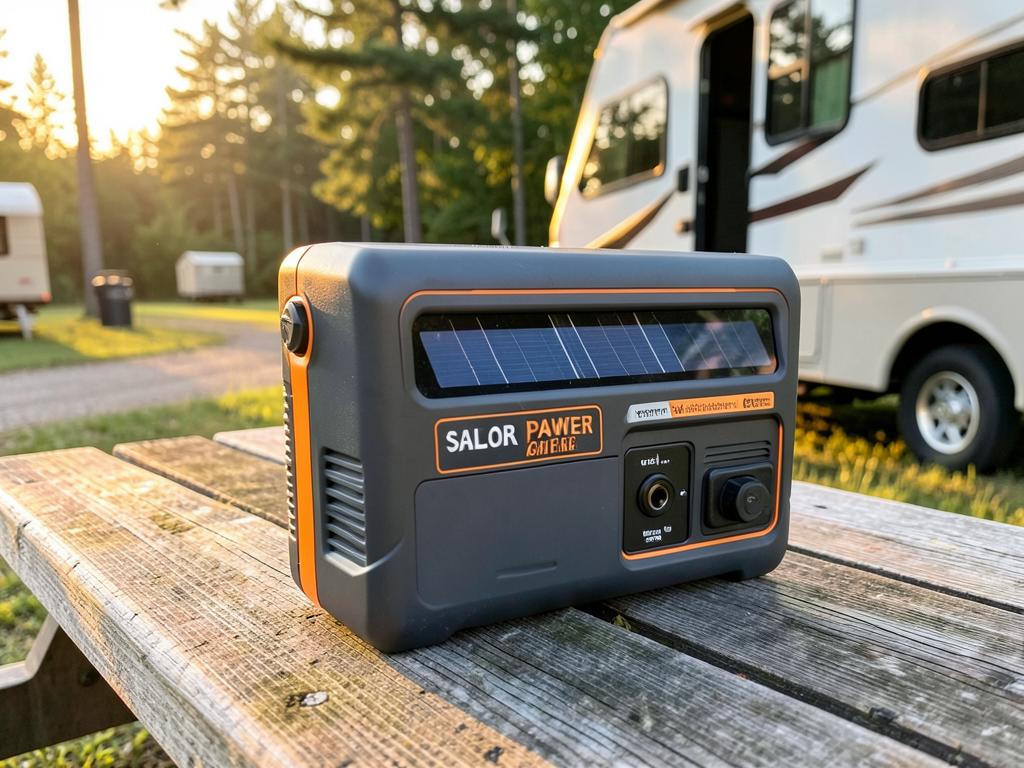
Jackery Explorer 1000 v2
A 1,070Wh power station that keeps a 12V fridge, CPAP and kids' tablets running through a long weekend off-grid.
Key benefits
- 1,070Wh LiFePO4 battery rated for 4,000 charge cycles
- 1,500W output (3,000W surge) across three AC outlets
- Recharges from 400W of panels in under 4 hours
Pros
- Silent operation
- Only 23.8 lbs — lightest in its class
- Dual 100W USB-C for laptops
Cons
- Panels sold separately
- Full wall charge takes about 1.7 hours
Affiliate link — we may earn a commission at no cost to you.
Frequently asked questions
How often should I reseal my RV roof?
Inspect sealant every three months and spot-repair as needed. Most roofs need a full reseal every 5–10 years depending on material and sun exposure.
How old is too old for RV tires?
Replace RV tires at 5–7 years regardless of tread depth. Check the four-digit DOT date code on the sidewall.
Share
Facebook X PinterestGet the free RV planning bundle
Five printable checklists you can download and print right now — no email required.
Free to download, print and share. No spam — just the checklist.
Related reading
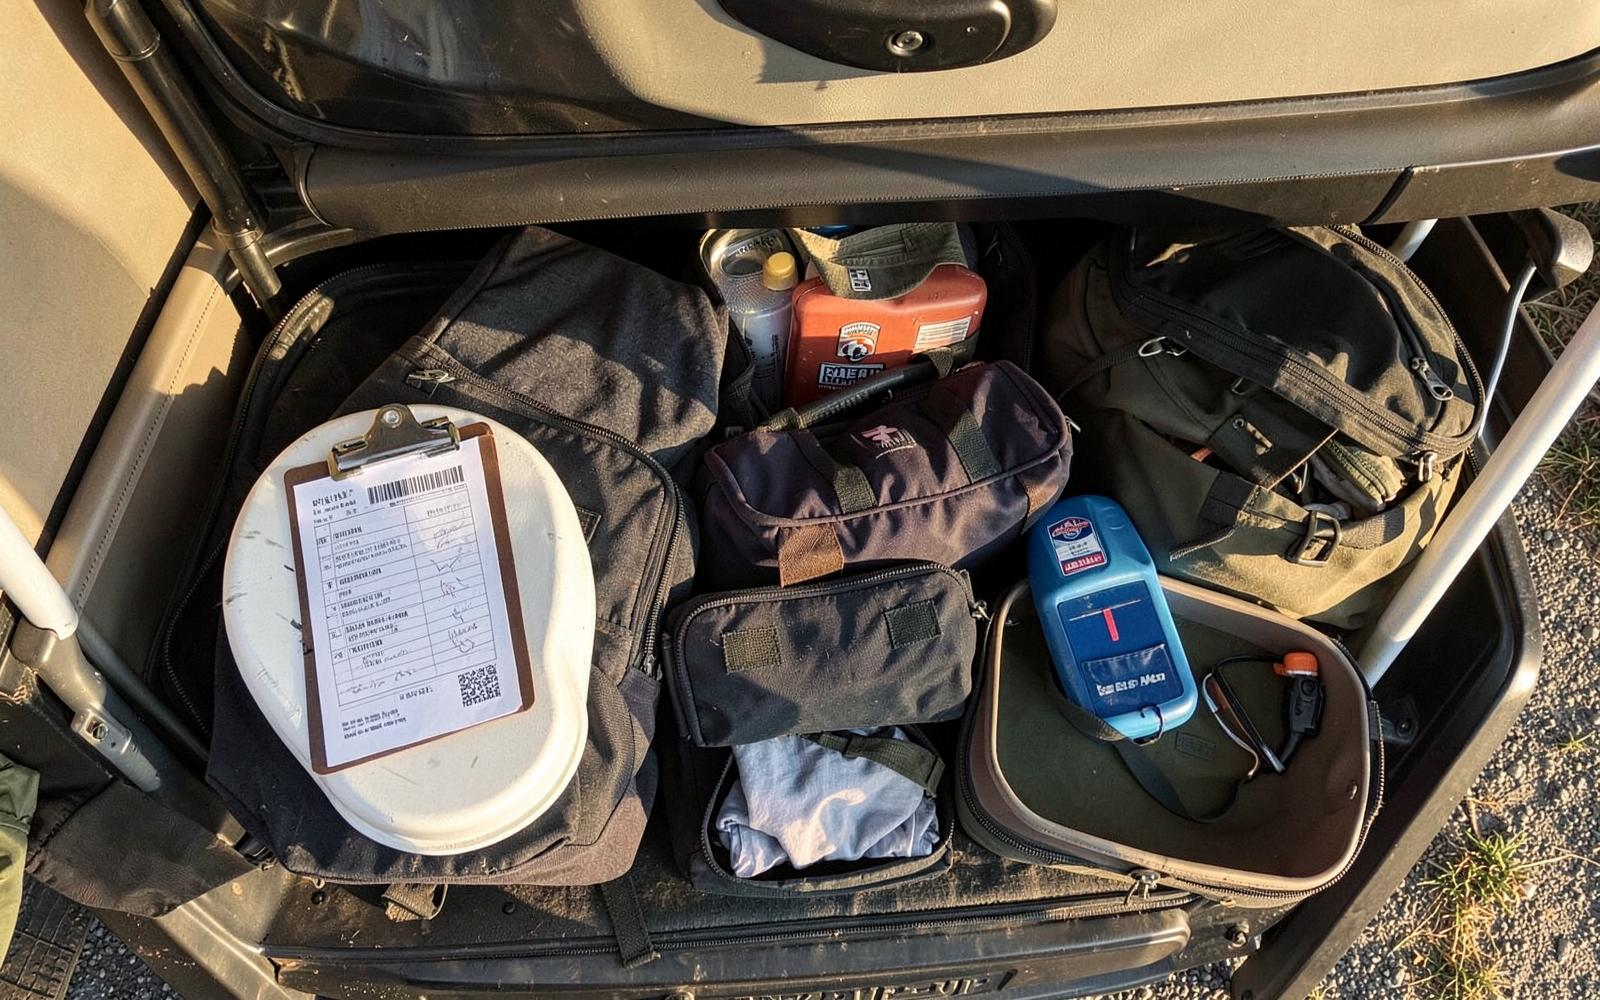
RV Packing Checklist for Families
A complete pre-trip checklist grouped by bay so nothing gets loaded twice and nothing gets left behind.
9 min read

The Complete Beginner's Guide to Family RVing
What to know before a first family RV trip: rig choice, campground booking, packing and the routines that keep kids happy on travel days.
14 min read
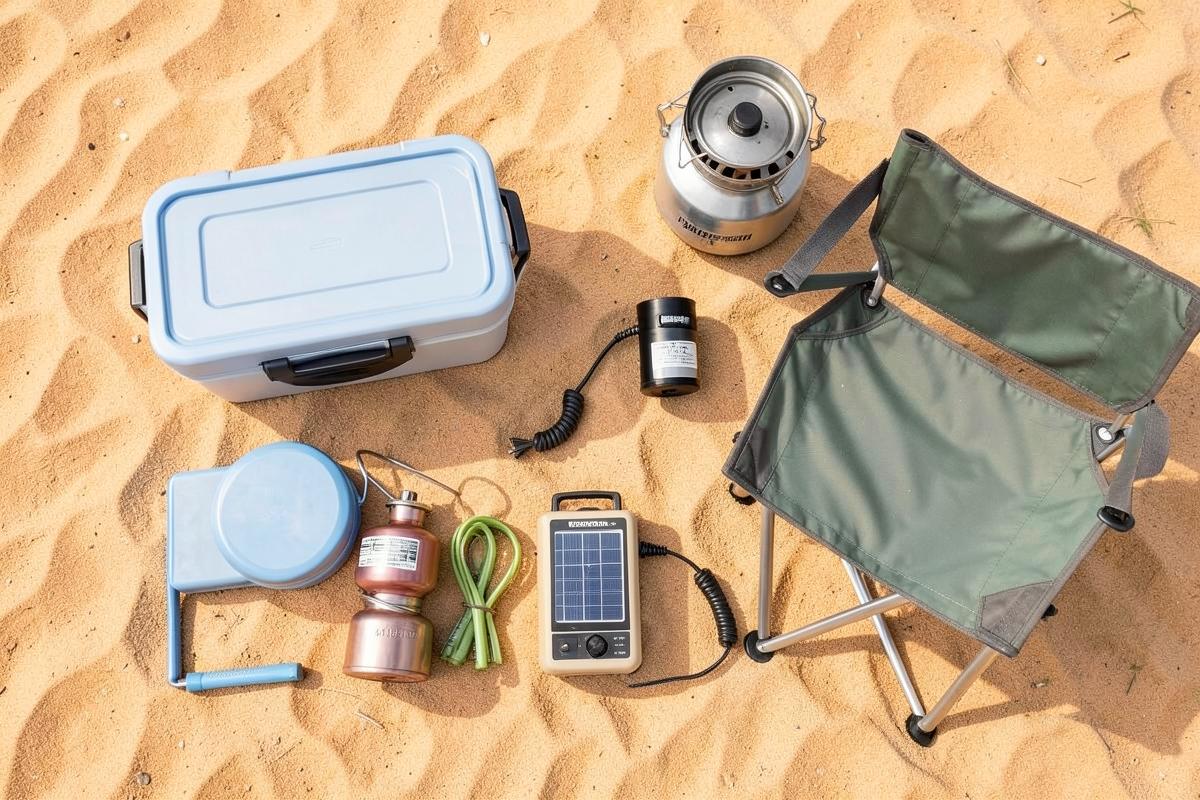
Essential RV Accessories Every Family Needs
The short list of RV accessories that earn their storage space, plus the popular ones most families end up leaving at home.
12 min read